Getting Started
AI agents are autonomous software tools that perform tasks, make decisions, and interact with their environment in an intelligent and rational manner. Cartesian is built on top of a layer of AI agents that help the system understand your user's needs and interact with them to help them make the most of what your ecosystem has to offer.
The Agents SDK is the mechanism to connect our agents to your platform. It has an analytics component that provides the Agents and the system with an understanding of what the users are doing inside the platform, as well as integrations to your UI to recommend solutions to your users.
To learn more about the various types of AI agents, we recommend reading this article from GitHub.
The primary component for integrating and creating Cartesian agents is our Agents SDK, which integrates into your front end as well as any existing agents you already have in your environment. This guide walks you through the setup process, authentication requirements, and basic implementation to get up and running with Cartesian agents.
Integrating the SDK will also initialize the Cartesian Agent Analytics, which means Cartesian will start learning and understanding your users' behavior
Creating an Agent configuration
Before you can connect an Agent to an app, you need to create an Agent configuration in the Ecosystem Hub:
-
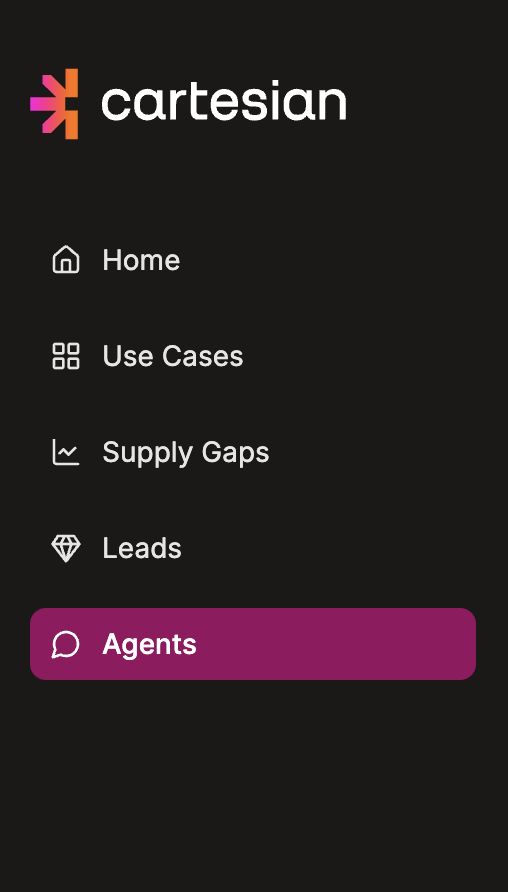
Log in to the Ecosystem Hub and select Agents from the side menu.
-
Click the
Create agentbutton in the top left corner.
-
Name your agent. We recommend using a descriptive name, such as the name of the app or page to which you are adding the agent.

-
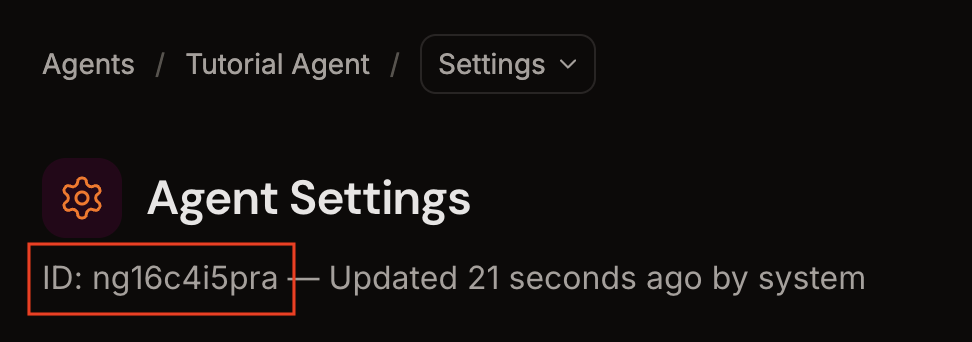
Hooray! You have created your first agent configuration. Note the agent ID at the top of this page; it will be used in an upcoming step of this tutorial.
Configuring the Outpost
Before you can integrate the Agents SDK, you need to setup the Outpost that will be used to communicate with the agents.
-
Inside the agent configuration page, select the
Installationtab. -
Enter the url you've created for your Outpost (If you haven't made one yet, check out Getting your Outpost Started to learn how.)
-
Click
Save.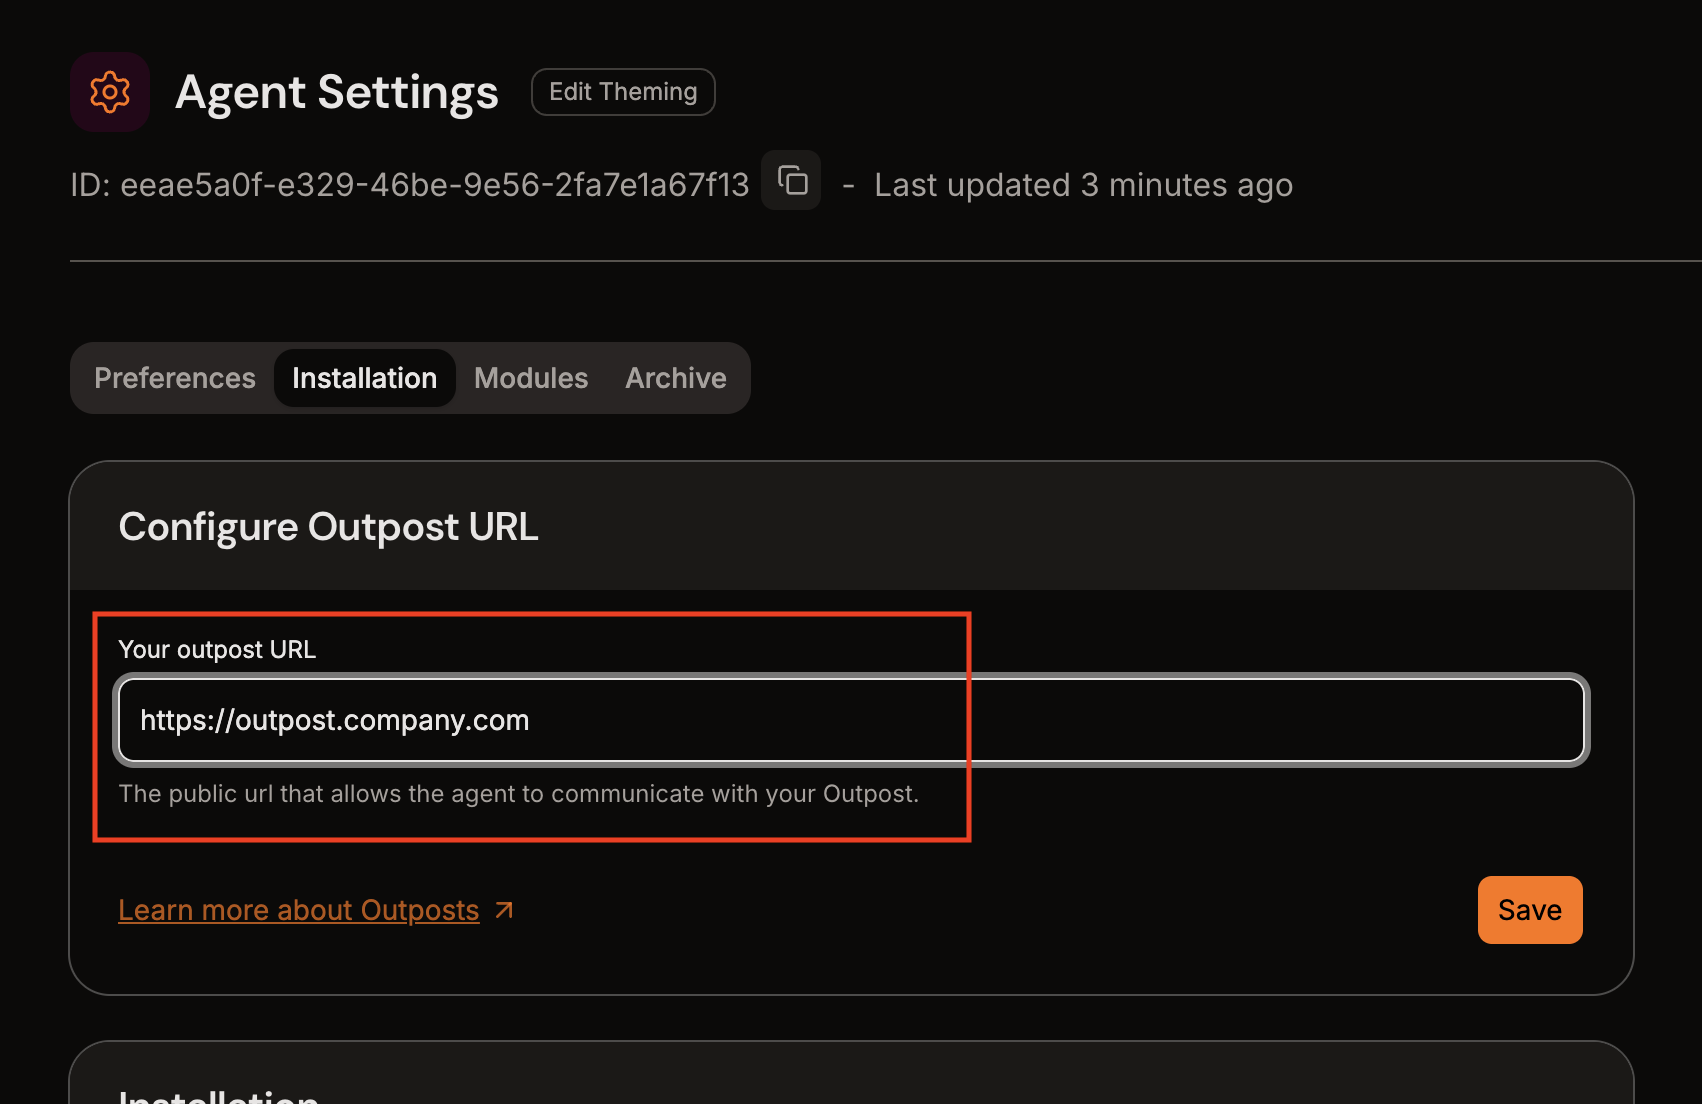
Adding the SDK
You can integrate the Cartesian Agents SDK by either adding a small snippet of HTML code or installing an NPM package. Both methods provide the same functionality. We support both options, allowing you to choose the one that best suits your development workflow.
The configuration page will also have an installation tab with code snippets pre-configured with your agent ID, ready to be copied and pasted. We recommend you use those when possible.
1. Script Snippet Integration
The script snippet method provides a quick way to get started. It automatically handles script loading and initialization. The snippet should be placed in your application's HTML, ideally before the closing </body> tag.
We recommended that you add the minified version to any production environment
- HTML
- Minified
<script data-cartesian="true">
  (function (c, a, r, t, e, s, ia, n) {
    c[t] =
      c[t] ||
      function (i, ...o) {
        (c[t].q = c[t].q || []).push([i, o]);
      };
    c[t]('agent-id:set', s);
    ia = a.createElement(r);
    ia.type = 'text/javascript';
    ia.async = true;
    ia.dataset['cartesian'] = 'true';
    ia.src = e;
    n = a.getElementsByTagName(r)[0];
    n.parentNode.insertBefore(ia, n);
  })(window, document, 'script', 'Cartesian', 'https://agent.cartesian.io/bootloader.js', '<%= agentId %>');
</script>
<script data-cartesian="true">
(function(c,a,r,t,e,s,ia,n){c[t]=c[t]||function(i,...o){(c[t].q=c[t].q||[]).push([i,o])};c[t]("agent-id:set",s);ia=a.createElement(r);ia.type="text/javascript";ia.async=true;ia.dataset["cartesian"]="true";ia.src=e;n=a.getElementsByTagName(r)[0];n.parentNode.insertBefore(ia,n)})(window,document,"script","Cartesian","https://agent.cartesian.io/bootloader.js","<%= agentId %>");
</script>
Next, you need to call the window.Cartesian function within a <script> tag like this:
window.Cartesian('user:login', myLoginFunction);
You will need to replace the myLoginFunction with your own function that fetches the signed JWT. See the Authentication section for additional assistance.
2. NPM Package Installation
You can also integrate Cartesian via our NPM package.
- NPM
- Yarn
- PNPM
npm i @cartesianio/agent-sdk
yarn add @cartesianio/agent-sdk
pnpm add @cartesianio/agent-sdk
In your front-end codebase, you need to add:
    import { Cartesian } from '@cartesianio/agent-sdk'

    ... (other code)

    Cartesian('load', agentId, [ myLoginFunction, myLoginStatusFunction ]);
Authentication
Cartesian requires users to be authenticated at all times.
Cartesian requires JWT (JSON Web Tokens) for secure user authentication. This ensures:
- Secure user verification
- Stateless authentication
- Configurable token expiration
The JWT must be signed by a public key recognized and configured in Cartesian and have the following claims:
- A user ID, which could be any unique identifier, including unique opaque handles
- An organization/tenant ID identifiable by Cartesian (e.g.
acme.com)
Public key configuration and claims mapping are done on the Ecosystem Hub (coming soon) or by contacting Cartesian support.
To configure JWT fetching in the Agents SDK, you can add a function that fetches the JWT by calling:
window.Cartesian('user:login', fetchJwtFunction, onLoginNotificationFunction);
fetchJwtFunction is a function that is called whenever we need to fetch or refresh the user's JWT. The way you implement this function differs depending on the availability of the JWT on the frontend.
JWT Available on the Frontend
If a valid JWT is available in the frontend, the implementation could be straightforward.
For example:
const userContext = {...};  // Your user context object
function fetchJwtFunction() {
  return userContext.jwt;
}

window.Cartesian('user:login', fetchJwtFunction);
JWT Unavailable on the Frontend
If a valid JWT is unavailable on the frontend, you should set up a way to fetch a valid signed JWT from your application's backend.
The flow would look like this:
On the frontend, the implementation could be similar to the following:
const userId = 'myUserId';
function myJWTFetcher() {
  return fetch(`https://my-server/my-auth/${userId}`).then((data) => data.jwt);
}

window.Cartesian('user:login', myJWTFetcher);
Handling Login Events
The login function allows you to pass a callback that is called once the login is completed. This function has an error that will be populated if the login failed:
window.Cartesian('user:login', myJWTFetcher, (error) => {
  if (error) {
    // Handle login failure
    console.error('Login failed:', error);
  } else {
    // Handle successful login
    console.log('User logged in successfully');
  }
});
If authentication fails, the Agent will stop. You can subscribe to the stopped event to handle such cases:
window.Cartesian('subscribe', 'stopped', (error) => {
  if (error) {
    console.error('Agent stopped due to authentication failure:', error);
  }
});